

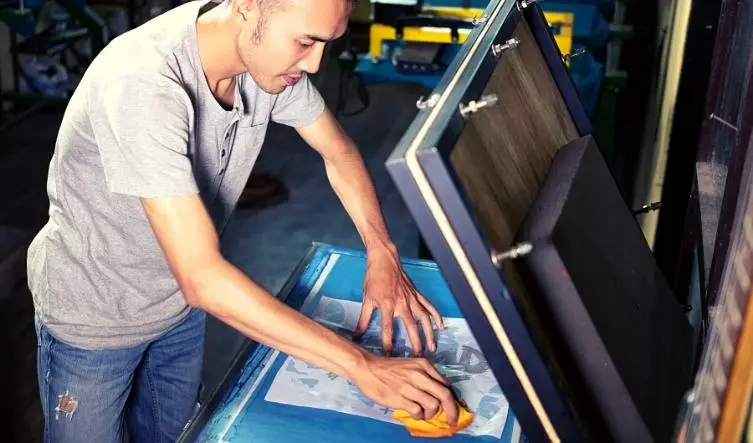
The affordable and simple process of screen printing customized t-shirts is a great way to showcase your unique sense of style. Discovering how to cure screen printed shirts at home is essential if you’ve only begun screen painting t-shirts as leisure or if you want to open your own business sometime in the future.
Screen printing
Inks with a liquid basis are ideal for printing in a household. They are simple to use for printing and simple to clear away. All inks must be high-temperature before they may be washed away quickly. This indicates that the ink won’t wash out of clothing. The prints aren’t healed if they continue to come off in the washing machine.
What is Curing in Screen Printing?

A final but crucial stage throughout the production process, curing the images is among the last procedures. For the ink to adhere well to the fabric, it must be properly heated and cured. Failure to comply will cause the pattern to fade and fracture.
The link must achieve the operating temperature for curing out from the upper layer towards the bottom level for the ink to be completely cured. The ink itself determines what temperature it dries at.
- The curing temperature range for water-based ink is 300–320°.
- Plastisol inks dry to 320 degrees.
- There are short cure, 260° curing plastisol inks available.
Although printing technology might be time-consuming and adding a step looks excessive, doing so is essential if you wish to hasten the curing and guarantee the correct results. Here is how to cure screen printed shirts at home.
How to cure screen printed shirts at home?
Let’s dig deep and explore.
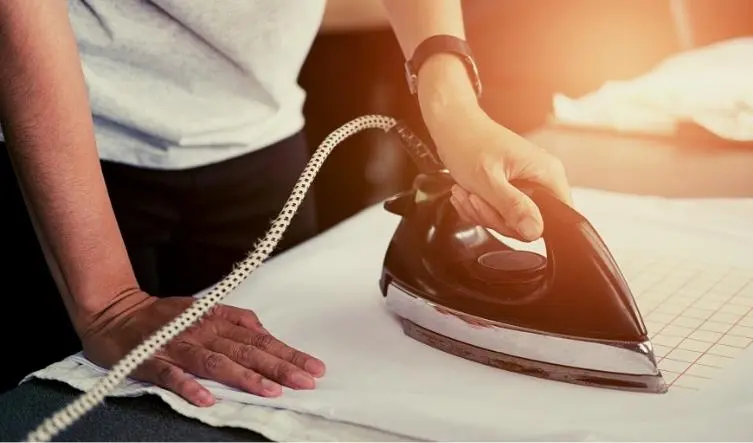
1. Curing using a heat press
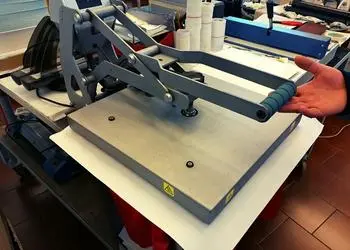
Undoubtedly, the finest and most effective method of curing is using a heat press. Because a heating press is designed primarily for items like common home iron, anything about using one is straightforward.
It is sufficient to cure shirts at a regular iron’s maximum temperature of 350 or 400 ℉. When utilizing plastisol dyes, the ink must first gel until being cured. At a temperature between 240 and 250 ℉, its ink is said to have “gelled” or semi-dried.
Hold the iron above the ink when you achieve gelling heat. Place a sheet of paper over the picture only after it has partially dried. The surface you intend to print on this will likely need to be covered with a sheet, ideally Teflon and parchment. For one or two minutes, position the iron-out-over pattern.
When using liquid ink, omit the gelling step and let the ink dry naturally for five to ten minutes. The pattern is then ironed for between two and five minutes. Make sure the iron is hot across the whole pattern by moving it around.
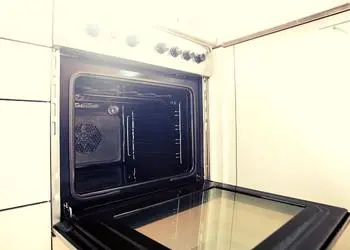
2. Curing using an oven
Whereas most people believe that microwave curing is just an utterly ridiculous notion, it is a source of heat that would enable you to dry the pattern without having to use a heat press with a thermal gun and may ultimately prevent damage to your creation.
To avoid accidentally baking your garment, you must remain close to the oven the entire time it is being cured. A health risk will undoubtedly arise from the discharged toxins when drying plastisol dyes within the oven you employ for baking and cooking.
The folded garment should be placed onto the metal pan with the oven set to 400 °. Put it onto the middle shelf. If you’re employing liquid inks, you’ll see some mist escaping, which would probably be water from the dyes.
After you’ve completed all the stages, throw your screen-printed clothes inside the oven to give them some other cure. The screen-printing procedure will run easily. Even so, ensure the oven is at least warmed to 250 ° because they only need two to three minutes to bake.
3. Curing using a hair dryer

In addition to being practical and secure, you probably already have a few at home!
Unfortunately, hair dryers only reach a maximum temperature of 100 to 120 degrees F, which is not high enough. Naturally, curing won’t work since liquid inks need a minimum temperature of 300 ℉. So, avoid using this technique if you want to print using plastisol ink.
If you begin curing using a hair dryer since it can achieve the required heat for the said drying process, then screen-printed artwork will be ready to use in twenty to thirty minutes. Since none of the previous gadgets seem to have been good sufficient for all of you to manage, this one will take a lot of time.
4. Curing using a heat gun
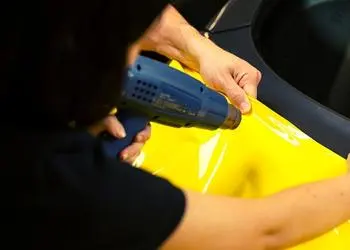
Using a high-temperature gun is possibly the most well-liked method for cheaply curing ink. A heat gun is the greatest instrument for finishing a curing process, which may be useful even if you own a screen printing company.
To put it simply, heat guns are tiny flashes. The fact that sometimes the easiest and least expensive ones can reach temperatures of up to 1000 degrees Fahrenheit is wonderful and makes it possible to print shirts rapidly.
There is sufficient heating power for our needs. Heat-printed shirts don’t require a wash test since the ink is exposed to very high heat throughout the printing process, guaranteeing permanent adhesion.
But being well-liked doesn’t always imply being effective. In addition to taking a long time, heat gun drying works well for short batches and smaller images. It will be challenging to keep the heat uniformly distributed across wider surfaces. Additionally, the risk of burning the garment increases if you aim too closely.
5. The process of nature
Even washed and cured clothing may be dried using the air-dry technique. This primarily applies to water-based inks with evaporative ingredients like solvents and moisture.
To avoid smearing and enable the t-shirts completely air dry, hang or rack them after pressing. While certain liquid inks can reach full cure within 24 to 48 hours when exposed to air, screen printing with such a sort of ink type demands moderate to expert skill since the ink dries quicker than usual.
Although it is relatively simple and may not yield ideal results, it does take considerable time. If you desire a high-quality print, we suggest doing it even if it will not give you the ideal results.
How to cure screen printed shirts at home? Ironing in stages
The easiest way to cure the print when you’re done with it is to let things dry naturally until they feel dry. Air temperature for a whole night should be enough. This enables most of the ink’s humidity to escape, facilitating the curing. Additionally, this technique of iron-heated heat fixing prevents your lovely new print from smearing.
- Select the warmest iron heat appropriate for the cloth you use.
- Cover the image with brown paper. Use the iron to cover the whole print, moving it constantly to distribute the heat equally.
- Perform this exercise for a minimum of two minutes, preferably two minutes and 30 seconds. Maybe more time. The ink must reach 160 degrees Celsius to dry and then be set. The cloth shouldn’t burn since the iron is being moved. That pigment inside the ink should have cemented the cloth after all the liquid.
- To ensure that your item has healed, wash it at its usual setting.
Conclusion
Manufacturing handmade clothing items will last; preserving the prints requires additional skills and expertise beyond simply creating the pattern. If done improperly, your product will have a shorter lifespan.
Watch: 4 WAYS TO CURE A T-SHIRT. ( SCREEN PRINTING )
Read more:
EVERYTHING YOU NEED TO KNOW ABOUT CUSTOM SCREEN PRINTING T-SHIRTS


