

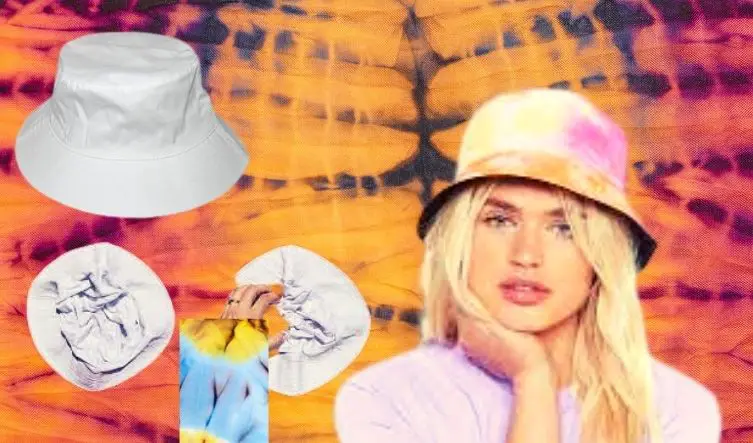
Bucket hats are unquestionably the most popular headwear for summer 2021, and they’re a timeless style that’s as useful as it is adorable!
Learn how to make tie-dye bucket hats with this tutorial, which includes our three favorite patterns for this hat shape: scrunch, accordion, and small bullseyes.
To ensure that the fabric takes the dye when tie dyeing bucket hats, make sure the exterior fabric is 100 percent cotton or another all-natural fiber. If you want to dye a synthetic fabric like polyester, you’ll need a dye designed for synthetic fibers, such as this one from Rit.
Simply dampen your hat, tie it up, and color it with liquid dye! In this post, we will show you how to do this. Also show you how we made our own custom tie dye colors by diluting and blending dye powders to create our fantasy pastel rainbow.
Let’s get started now!
HOW TO TIE BUCKET HATS WITH DYE
YOU’LL NEED:
- 100% cotton dyeable bucket hats
- Tie-Dye
- 4oz dye bottles*
- Rubber bands*
- 1.25ml tie dye powder scoop* or 1/4 tbsp (for making custom dye colors)
- Rubber gloves*
- Tie dye rack (optional)
- Paper towel
- Water
- Plastic bags
DAMPENING YOUR THINGS
This lesson has been divided down by pattern instructions, including step-by-step directions for tying and dying the Accordion, Scrunch, and Mini Bullseyes patterns, which can be found further down in this post.
Start the tie dye process by wetting your 100 percent cotton bucket hats, ensuring that the entire hat is saturated, then ringing out the excess water, leaving your hats damp rather than dripping.
MAKING PASTEL COLORS / MIXING YOUR DYE
Put on gloves before you touch your dye powder. It’s possible that the powder will stain your skin, but its non-toxic and will wash off after a few showers.
You can dye your bucket hats in one of two techniques, depending on the colors you choose to use:
- For full-intensity color:
Pour an entire (or nearly entire) packet of dye powder into a 4 oz squeeze container, fill halfway with water, and shake vigorously until all the dye powder is incorporated.
- Pastel and/or custom color:
Using a 1.25ml scoop or 1/4 tbsp, design your desired colors using our Tie Dye Color Chart! Scoop the dye powder amounts indicated into 4oz squeeze bottles, fill with water, then shake vigorously until all dye powder is incorporated.
The color “recipes” from our Tie Dye Color Chart that we utilized in this project are listed below. (Note that the “scoop” size is 1.25ml, or 1/4 tbsp, which we put in 4 oz squeeze bottles):
- Light Red: 1 scoop of Red
- Mandarin: 1 scoop of Orange + 1 scoop of Yellow
- Light Yellow: 1 scoop of Yellow
- Light Pink: 1 scoop of Fuchsia
- Lime Green: 4 scoops of Yellow + 1/4 scoop of Green
- Light Teal: 1/2 scoop of Green + 1 1/2 scoop of Turquoise
- Light Purple: 1 scoop of Purple
It’s time to tie dye!!! After your bucket hats have been dampened and your dye has been mixed, it’s time to TIE DYE!!!
ACCORDION TIE DYE PATTERN
For this style of hat, the accordion-fold method is a very simple and fool-proof pattern! This is the way to go if you want to start with the “easiest” pattern.
- Begin by putting your hat flat on its side and matching up the bottom of the brim with the seam above the brim to create a completely flattened hat. Begin by folding the hat accordion style from one side to the other, lining up the brim seam as you go. (Accordion folding is when you fold your cloth one way and then the other, creating a zig-zag pattern.)
- It’s time to bind your hat once you’ve accordion-folded it completely. Begin by wrapping a rubber band immediately below the folded hat’s top point. Another rubber band should be placed in the hat’s center, and a third band should be placed along the seam above the brim.
- Each banded section necessitates its own dye color! Fill in the blanks with whatever colors you want, making sure to flip the hat over and dye the back with the same colors.You can squeeze color in between the folds of your hat to prevent white stains.
SCRUNCH TIE DYE PATTERN

The tie-dye design Scrunch is a basic tie-dye pattern that, in our opinion, is the most subtle. You may make this pattern more vibrant by using many colors, like we did here, or keep it simple by using only one color.
- Start by laying the hat completely flat round-ways — that is, stand it up as if you were about to put it on, then smoosh down the top so the hat lays flat and round. Begin by scrunching the hat’s core to make a slew of small squiggly wrinkles.
- Scrunch in a section of the brim as well, and zig-zag one side of it with your rubber bands. Repeat on the other side, then add one or two more rubber bands to the middle section. The trick is to think about exposed surface area, so make sure that enough of the hat’s fabric is exposed so that you have plenty of fabric to dye!
- If you’re using multiple colors, start with one color and apply it to a few different spots on your hat. Repeat with the next color, then the next color, and so on. Turn the hat over and repeat the process on the backside.
- If you’re going monochromatic, be sure to leave some little white splotches to ensure you have adequate negative space between your scrunches!
TIE DYE PATTERN FOR MINI BULLSEYES
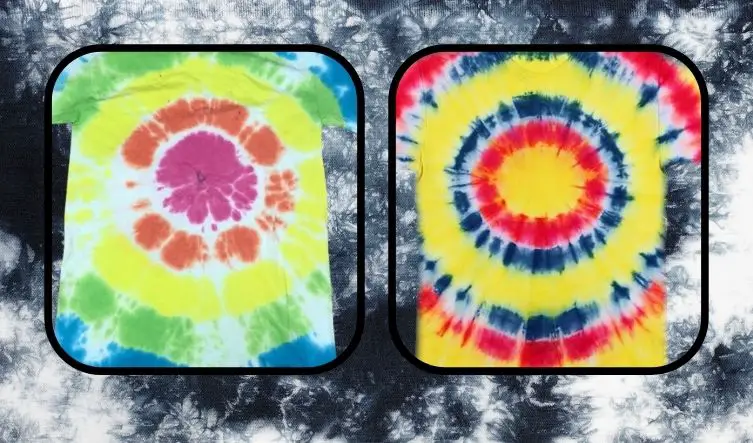
A tie-colored bucket hat with mini bullseyes has a “wow” factor. This is the way to go if you want a genuinely impactful tie-dye pattern!
- Pull a long tip off the top piece of your bucket hat and wrap two rubber bands around it, spreading them apart to form different parts between which to apply dye. Rep until you obtain the required number of bullseyes (we found that three was just right!).
- If you want a solid background for your bullseyes, leave the remainder of the hat unbanded, or scrunch up the brim and tie the scrunches in place with rubber bands.
- To avoid the dye dripping onto the rest of the hat, apply the color to each of the points first. After you’ve dyed all of the points, move on to the rest of the hat.
WASHING, SOAKING, AND DRYING
- Place each hat in a separate plastic bag and let aside for 6 to 24 hours (we usually just let our items soak overnight).
- When your goods have finished soaking, remove the rubber bands and thoroughly rinse them in lukewarm water before washing them on a normal cycle with detergent.
- Allow the hats to air dry to avoid shrinkage.
Have fun wearing your new tie-dye bucket hats!
Watch: How to Tie Dye: Bucket Hat
Read more:
How to Make Tie Dye More Vibrant?
How do I make pink for tie dye?
What is the best fabric to tie dye?
Can you tie dye a black shirt?
Can Mica Powder Be Used For Tie Dye?


