

Making ensuring that the emulsion is touch-dry is only one aspect of screen curing. It demands knowledge of standard drying techniques. How long does it take photo emulsion to dry?
Quick Response.
How long does it take photo emulsion to dry? Despite feeling damp, it could not actually be. Emulsion needs at least 24 hours to dry at normal ambient temperature completely.
Screen printing with photo emulsification: what is it?
Screen printers can generate photographic stencils with extremely detailed pictures using the photographic exposure technique.
Emulsion for photos
The finest material for making a photographic stencil of a printed up black and white picture is a photographic emulsion. The maximum level of authenticity and detail is possible with photo emulsion.
You may use a picture stencil to create almost everything that can be printed in black and white. It’s also the trickiest approach because of the particular instruments and detailed techniques.
How are screen prints created?
Step 1: Prepare the Emulsion
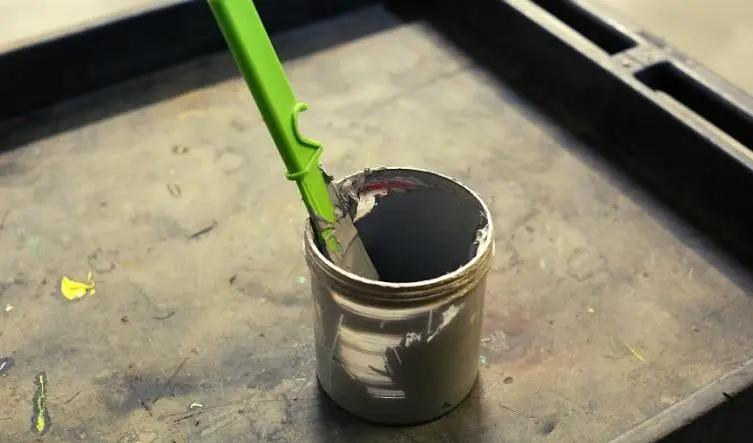
Water should be added until the sensitizer container is about halfway full. Shake the sensitizer container briskly after closing it. To make sure together all substance is agitated and absorbed, choose a crafts stick and dig at the bottom of the container.
Put a little at a time into the photographic emulsion container from your combined sensitizer container. When all the sensitizers have been fully incorporated into the photographic emulsion and it has turned a greenish green, stir vigorously with a brush. Any extra emulsion should be kept in a cold, dark location.
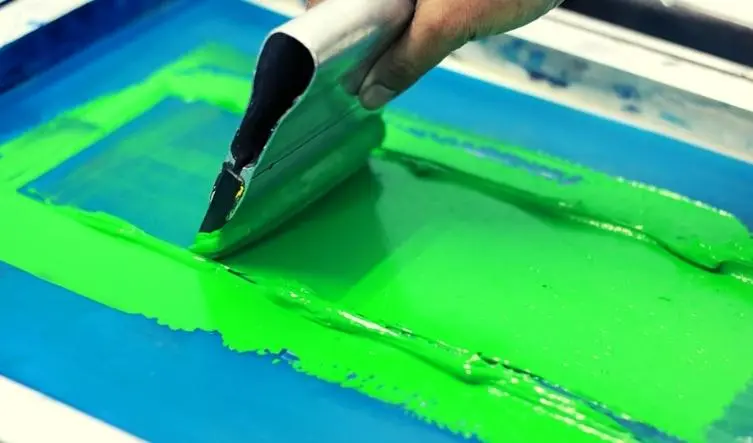
Step 2: Apply the coating to the display
In order to effectively coat a screening, the mesh must be properly saturated with emulsion without being oversaturated, or else the screen will drop emulsion because it dries. Above a sink or bathtub, place the screen diagonally.
A large bead of the blended emulsion should be applied to the frame’s one side. To apply emulsion to the panel, position the squeegee while behind the blended emulsion and pull it over the screen smoothly. To make certain that the single side is completely covered, carry out this procedure using the squeegee.
When you’ve coated one side of the screen, use this identical procedure to coat the opposite side by rotating and flipping your screen. Lightly swipe the squeegee across the screen to clear away any extra emulsion. Refilling the bottle with the surplus emulsion is possible.
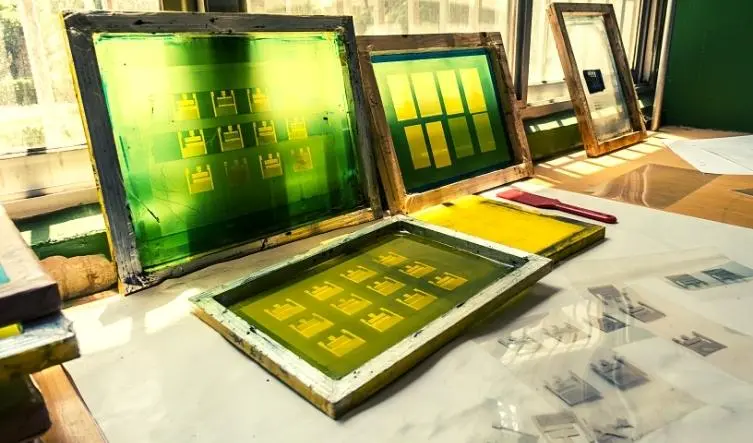
Step 3: Install the drying screen
The screen must be stored in a dark area, but when the emulsion cures, that becomes light-reactive.
For at least four hours, position the screen diagonally to cure. You may shorten the drying process by placing a fan here on display. Prior to going into exposure, keep the screen away from light. One to two weeks can pass when a covered screen is left exposed in a dark area away from heat and sunlight.
Step 4: Produce the artwork
Every artwork that clearly distinguishes the black picture from the white backdrop is the ideal image using photo emulsified. Light sketches and watercolor splashes won’t expose properly. One common and efficient method for producing images is to print them on transparent sheets using black-and-white lasers or inkjet printer machines with contrasting colors and opaque pictures.
The art should be as opaque as possible. Before printing real photographs, you might need to investigate how to electronically create a black as well as white “halftone” of a picture. Grayscale images would not show exposure properly.
Step 5: Exposure of the photograph
The lighting will have the most impact on how long it takes to expose your photograph fully. To guarantee that now the source of light is farther enough to cover your full image uniformly, set your display immediately below your source of light, with a beam of light situated at a distance roughly equal to the diagonal size of the screen.
Put something dark underneath your window, the artwork into black and white off over, and then place a pane of glass and Plexiglas inside the display on the highest part of the artwork and push it firmly against your display.
Step 6: Clean up the stencil
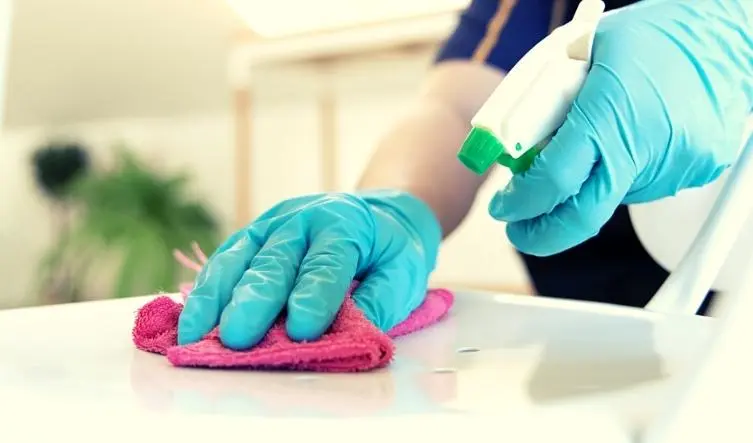
Spray a vigorous pressure washer to all sides of the screen with a spray nozzle and pump. Like the water gradually unveils your pattern, focus it on the artwork. Spray continuously until your stencil is clearly visible and all undesired emulsion has been removed.
Bringing the screen up to such a light will allow you to make sure there isn’t any green emulsion within the stencil. If the stencil is a little “stubborn,” lightly cleaning the screening with a fine stiff brush might hasten the washing procedure.
Step 7: Print the picture
1. Scrape out some ink and scatter a few teaspoons of it across the display’s surface.
2. To produce a crisp print edge, position the squeegee behind the ink at a slant of around 60 degrees. Apply as much force as would be necessary to open a hefty door by pulling the squeegee equally over your picture while pulling it toward you.
3. Stop dragging EVEN BEFORE they approach the display’s bottom.
4. Raise the squeegee as well as position it ahead of the ink beads.
5. Reapply a light to a nonexistent amount of pressure as you “flood” the ink all across the screen as well as the picture, moving up toward this edge of the screen.
6. After completing your flood strokes but before your approach the end of the screen, raise the scraper and place it behind the ink, leaning on the rear of the screen.
7. To expose the print and enjoy the wonder of digital printing, lift the screen!
How long does it take photo emulsion to dry?
The amount of circulation out over the display, how warm and humid the space is, and how long it takes for such a display to dry are all intimately correlated.
What makes this crucial?
You should take inside a dehumidifier to make sure the space or dryer box is adequately dry. The drying atmosphere should have a humidity level somewhere between 30 and 40%. Warmer is preferable; it results in improved temperatures ranging from 68 to 85 degrees Fahrenheit. Additionally, you’ll need airflow above and below the screens that are curing.
This mixture of heated, dry air passing over the emulsion plus moisture-drawing forces will reduce the emulsion’s water potential towards the 30% to 40% ranges required for optimal exposing and cross-linking.
The time it takes depends on how much room you have. You can also have panels prepared in 20 minutes when you have a contained space with vigorous air circulation and a powerful dehumidifier. It may take many hours for such displays to become sufficiently dry if they are positioned in a screen area with a single ineffectively placed fan.
FAQ
How can pinholes, as well as air bubbles inside a display, get there?
– While coating, there is dirt as well as dust upon that display. Wipe and carefully prepare the screen.
– Emulsion with air bubbles. After combining, should let the emulsion rest for a while.
– Visibility or glass with dirt or particles upon exposure. Keep the area where you will be exposed dust-free.
– Swiftly covering your screen. If you operate your scoops coater too quickly, the minute bubbles in the emulsion will not explode, leaving extremely little tiny holes inside the covering.
Conclusion
We believe we have addressed all the information you want: “How long does it take photo emulsion to dry?” Do you have baking experience? It’s simple! Baking a dessert is similar to drying a panel. An easy prepress procedure that looks obvious at first glance is screen drying.
Watch: How Long Does It Take For Emulsion To Dry?
Read more:
The best Water Based Ink for Screen Printing


